This is another page devoted to autobody.
On this page you will find step by step procedures taken by me in order to accuratly fix and repair a car to its original state.
|
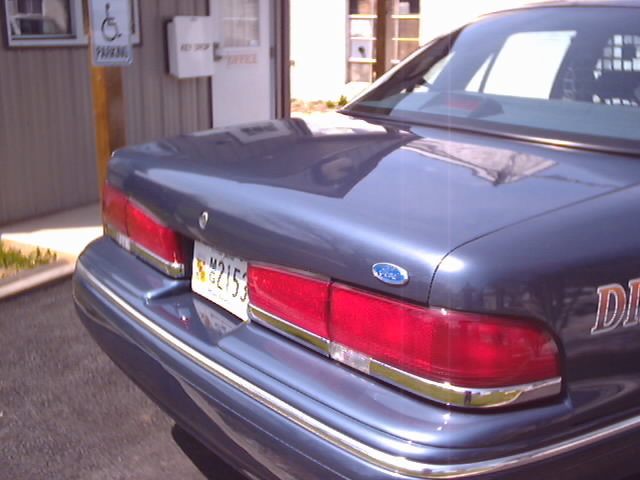
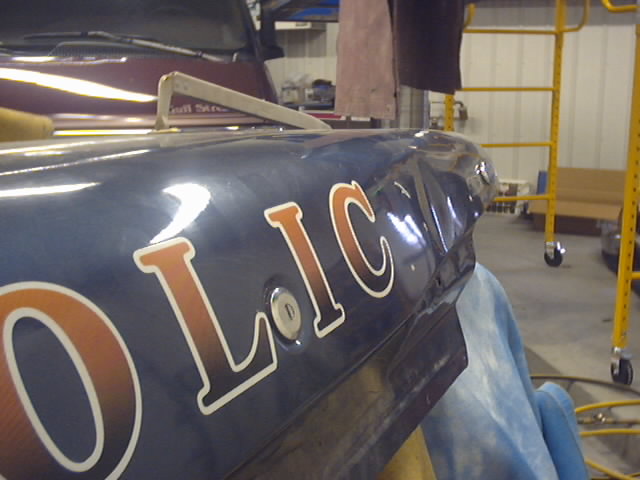
This is a trunk lid to a Ford Crown Victioria cop car. Yes, this is the same car on my previous photo page. This time the deck lid was damaged and we were asked to smooth out the old antenna holes. It was easy. Just weld in some steel patches and smooth tthem out. Wrong! This trunk lid is aluminum.
This is one of the two holes ill be fixing. Its a nice size hole, measured at almost 1.5 inches (1 1/2). I first stared with cleaning the surface with a grease/wax remover called *Gon*. I then used a DA with 100 grit paper to remove the surrounding paint from the hole. |
|
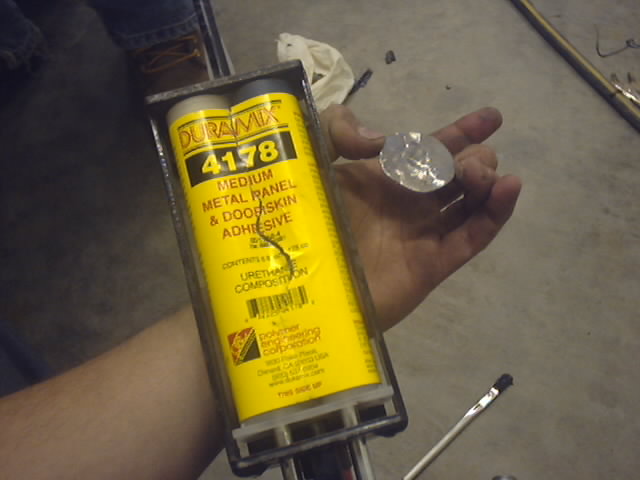
These are my weapons of choice. Duramix glue and a custom round patch made of sheetmetal. I grounded the patch completly bare with a die grinder. Now the patch will be placed (glued) on the back side (inside) of the trunk lid. So, the paint was also removed from this area. I made a small bead on the outer most part of the patch. Lightly brushed it smooth and brushed a small amount behind the hole. |
|
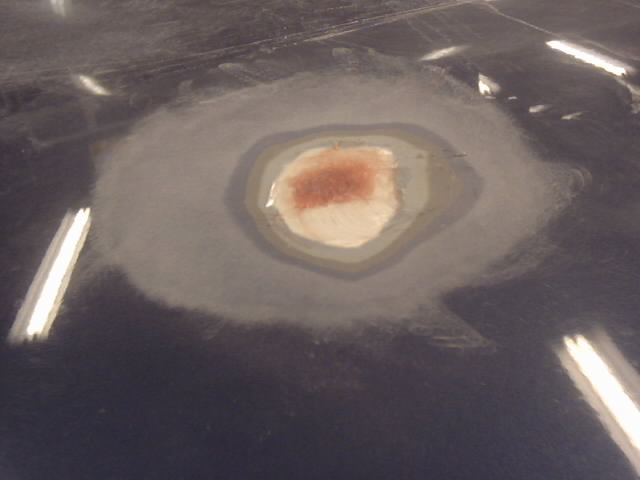
Next day, the glue was very hard and cured. So I proceded with my next step. I took debur bits and removed any of the glue that gushed into the center of the hole. I took a die grinder and then V'ed the edges of the hole. This MUST be done when filling a hole. Why you ask? If the hole is level with the rest of the panel, by the time you cut down the filler the hole will reappear. Shrinkage is also a problem (yes bondo does shrink) when working with holes, because a small outline of the hole can possibly appear down the road. Lets go over whats been done so far. I glued the patch, removed material from the center, V'ed out the hole. Looks good so far, but this is where we will begin to apply filler. I used fiberglass filler with kitty hair as a base. Yes, the glue does seal the repair, but I wanted a stronger filler so shrinkage is minimum. It also looks cool. :) |
|
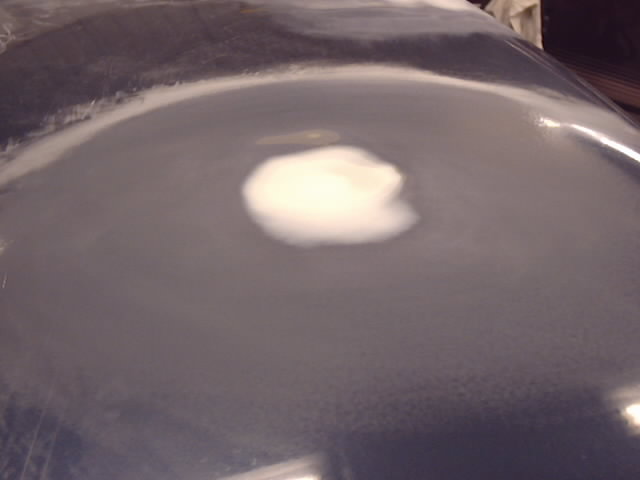
Its getting critical kids, so pay attention. I used a DA with 100 grit to cut down the fiberglass. When cutting it down, i tried to keep as much in as possible, but I also wanted the repair low enough to use a top coat filler. So the fiberglass was sanded until I could start to see the V'ed hole reappear. This way the fiberglass not only filled the hole, but it went up around the edges and sealed it. (Next time when your family has a barbeque and you wrap up the left over steak using reynolds wrap. To assure sealness you cover up the bowl opening and wrap it around the edges. This comparison is used by me in autobody a lot). I then, featheredged the paint and removed any 100 grit scratches in the paint using 180. I applied a skim coat of filler up over the featheredge. Now, I only used 180 to cut down the skim coat, and I was sure to leave bondo up over the featheredge. To remove the 180 scratches from around the bondo, I used 500 grit DA. Its ready for primer. |
|
This trunk lid aint done yet! So lets move onto the next repair.
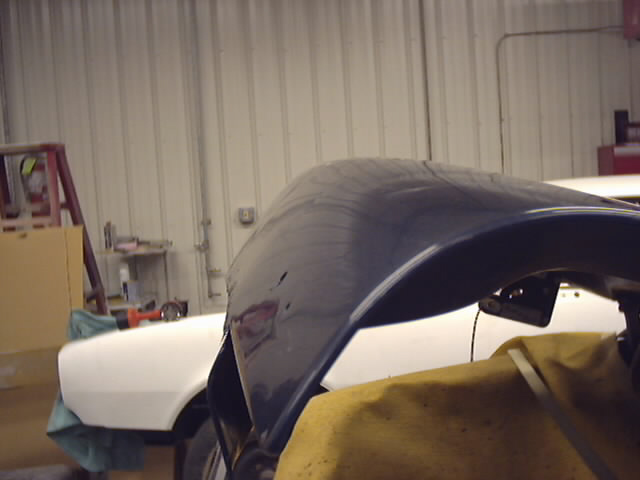
Passenger side of the trunk lid was smashed in. This would of been easier to straighten of I was to use a stud gun. But I had a big enough hole underneath to reach the repair with a pry bar. Careful not to puncture a hole or create a *nipple* in the metal, I pushed outwards and used a hammer to tap down the high spots surrounding the repair.
|
|
This is the repair after I straighted it. |
|
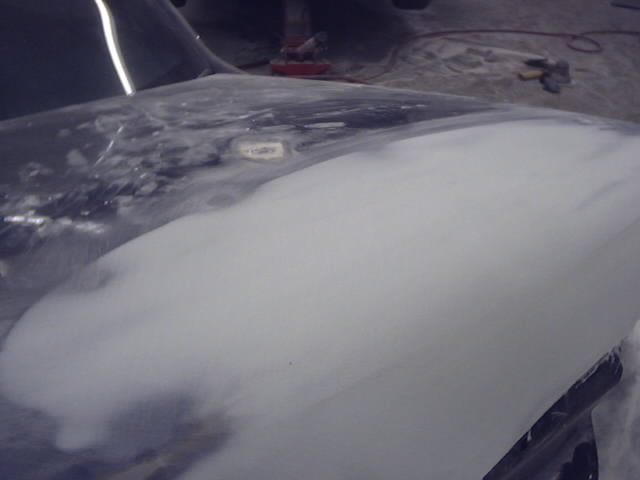
This is the repair with bondo. Right now im about to featheredge in the bondo with 180. I will also remove any coarser grit scratches as well. Next I will proceed with a top coat and It will extend to the hole right above it. |
|